

I have thought about this area for five years and have concluded that the easiest fix will be a piece of green board glued and screwed directly to the wall and the edges filled with plaster. When I get the drywall then I will post about this repair. First I have to be sure the "Beast" will make the return trip from Lowes!
Back to the subject of this post though, and to answer a previous question. If you have nasty previous repair work on your walls and feel that joint compound won't eliminate them then you need to chisle the ridges off the wall. This may cause you to lose much plaster unless you chose to use plaster washers along both sides of the repaired crack, but like I stated, "We don't need no stinkin' washers" here! Why? Because I know how to fix the problem!
What you need to do is staple wire mesh or some kind of metal lath to the wood lath so that your plaster will have something easy to key to! In my case the patches are relatively small. So, since my stiff wire mesh has been commandeered to keep squirrels out of the house and I gave my last piece of galvanized steel lath to a neighbor who never used it to keep squirrels out of his house all I had left was some leaf guard gutter mesh. So, guess what I used? Here is what you do

A wall repair.
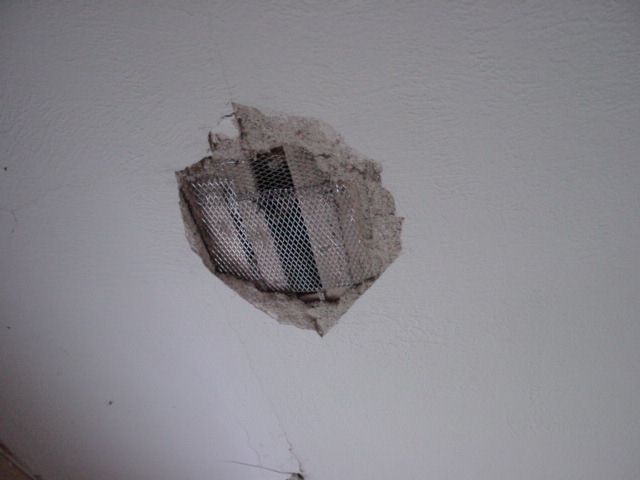
A ceiling repair.
Galvanised wire mesh is much stiffer and costs about $5.00 for a 4' X 8' sheet the last time I bought some. I will need to stop at a concrete supplier to get a sheet in order to fix a larger area on the other side of this wall but once again, the "Beast" has to start for the return trip! (OK, I ran the auxilliary tank down to empty several weeks ago coming back from the auction and the carb filled up with the rusty sludge from the bottom of the gas tank so there is some difficulty starting the thing until I run clean gas through the system! If it won't start, the battery loses ooomph and I am stranded.) I really should drive that thing more often.
Next you mix up some plaster. I used a mix that was 2 parts sand, one part lime for the "scratch" coat. The plaster should be mixed with enough water to make it plastic and able to adhere to a metal trowel. When applying to the wall you need to start at the edges with small amounts on the trowel (maybe an inch wide blob at a time) and press firmly and draw the trowel towards you, first into the edges and later over the previously applied section of plaster.The center of the area should be the last part to get covered. You are only trying to get it to key to the mesh. If you apply too much then gravity will take over and your plaster will end up on the floor. To help reduce this problem you can always add animal hair to the plaster or string fibers or even straw! It is certainly more difficult to get the plaster to adhere to the ceiling than the wall. The animal hair would have helped but when I started the electric shears the cats bolted and couldn't be found anywhere.
Once again, the trick is not to try to fill the areas to be patched in one go. The wall looks like this now.

The ceiling isn't as good yet because of the gravity factor.

Hopefully I will get some drywall soon and patch this side of that wall over including that doorway.
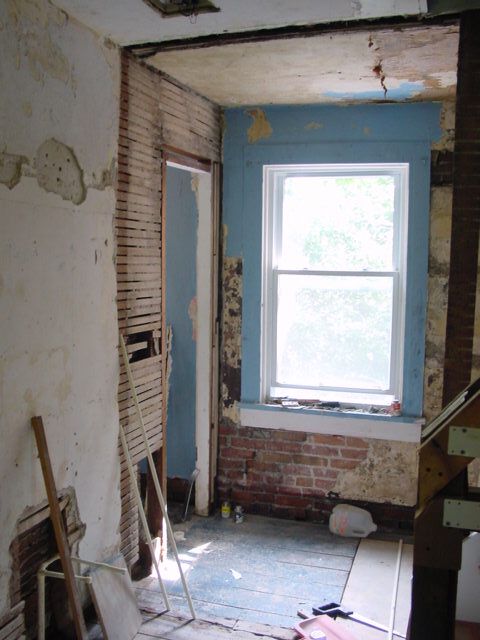
Since this powder room is an extension of the laundry room I am probably going to make a farmhouse style sink out of concrete and mount it on a bench made out of the original wood 4 X 4s that made up part of the wall here. You can see the trench in the ceiling where the wall used to be.The doorway is being covered so the sink can rest in this location. There is never a dull moment around here! You are now starting to grasp the extent of our plastering problems in these two rooms though.
No comments:
Post a Comment