
I have taken a diversion into the master bedroom while waiting on some tile to arrive that will finish my shower pan and allow me to grout it. I have been patching cracks with mesh tape and smoothing the walls with joint compound. Two areas were particularly bad as this room settled away from the main house after the bay addition was installed around 1890. There were two floor - ceiling cracks that extend up into the attic as well as the full length of the parlor walls below. They are right where the addition was attached to the house. The cracks were filled with a combination of caulk, "great stuff" and patching plaster depending on the width at various locations, taped over and then joint compounded! There was a portion of wall around one of these cracks with extensive water damage due to efflorescence. It is mostly smooth now. I am on my 2nd bucket of joint compound already. Anyway, if you want to know how to get nice crisp corners without buying the metal or plastic ones

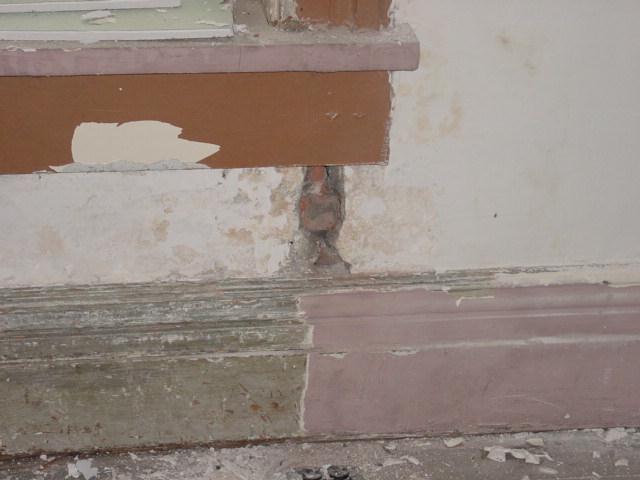
Yes, that is a plank of wood attached to the wall! When patching plaster to brick, it is wise to wet the brick first so that it doesn't suck the moisture out of the plaster. I also add sand to the plaster to give it more volume and fill the space but keep it recessed from the wall surface. I then use the joint compound to smooth over the patch. If you plaster over wood lath it is easier if you staple some metal lath to it first or some wire mesh to which the plaster can "key" or hold on to.

No comments:
Post a Comment